Table of Contents
If you’ve been thinking about finishing your basement, you’re not alone. Many homeowners across the Indianapolis area are transforming underused basements into family rooms, home offices, guest suites, or media spaces. Still, the idea of starting a basement finishing project can feel overwhelming. Where do you begin? What should you expect? And how does the process really work?
This guide walks you through the step-by-step process of finishing a basement so you’ll know exactly what happens at each stage. When you work with trusted basement contractors in Indianapolis like Gettum Remodeling, you can expect clear communication, expert craftsmanship, and full support with permits, insulation, drywall, flooring, egress windows, and everything in between.
Step 1: Start with a Plan
Every successful remodel begins with a clear plan. When you meet with an experienced basement contractor in Indianapolis, the first goal is to understand how you want to use the space. Maybe you’d like a home gym and playroom, or perhaps you’ve always wanted a media room and bar area.
The contractor will take measurements, evaluate the layout, and help you decide how best to use the space to serve your family. You’ll talk about square footage, ceiling height, plumbing, electrical systems, and where you might want to add new walls or doors.
It’s also the time to discuss design details, such as flooring options, lighting ideas, and how much of the existing structure can stay as is. Early planning helps you avoid surprises later and ensures your finished basement feels intentional, not pieced together.
Step 2: Permits and Inspections
Homeowners often ask whether they need a permit to finish a basement. In most of the Greater Indianapolis area, the answer is yes. Whenever you add electrical work, plumbing, or modify load-bearing walls, you’ll need approval from the local building department.
Your contractor will usually handle this part for you, filing applications and arranging inspections at different stages. Getting the right permits upfront keeps the project compliant and helps avoid problems when it’s time to sell your home.
Building codes also require certain safety measures, such as installing an egress window if you’re adding a bedroom. A seasoned home improvement contractor in Indianapolis knows these requirements inside and out, saving you time and frustration.
Step 3: Moisture Control and Preparation
Basements naturally sit below grade, which means they can be prone to dampness or condensation. Before framing begins, your contractor will make sure the space is dry and protected.
Walls and floors are inspected for cracks or water intrusion. If any signs of moisture appear, they’ll address them with proper basement waterproofing methods, drainage systems, or vapor barriers. In many Indianapolis homes, professionals apply polystyrene insulation to the exterior walls or install foam insulation to improve comfort and energy efficiency.
Getting this step right prevents future issues like mold, odors, or damage to new finishes.
Step 4: Framing and Insulation
Once the basement is prepped, the real transformation begins. Framing defines the layout, where the walls, doors, and rooms will go. Carpenters will attach the top plate, secure studs with concrete screws into the slab, and build out the design that was discussed during planning.
If you’re dividing the space into multiple rooms, you’ll see each area start to take shape.
After framing, insulation goes in. This keeps your basement warm in winter, cool in summer, and adds a layer of sound control between levels. Contractors in our area follow best practices for basement insulation, using materials that resist moisture, such as rigid foam or spray foam.
Step 5: Rough-In Work for Plumbing and Electrical
With walls framed, electricians and plumbers can begin the rough-in stage. If your plan includes a bathroom, wet bar, or laundry area, new pipes will be run before drywall goes up.
Similarly, electrical work is laid out for outlets, switches, and lighting. It’s smart to plan your basement lighting now. Recessed fixtures, accent lights, and dimmer switches can make a big difference in how the finished space feels.
Once the rough-ins are complete, inspectors will verify that the work meets local building codes before the next stage begins.
Step 6: Drywall and Ceilings
Now, the basement feels like a true extension of your home. Drywall is hung, seams are taped, and surfaces are prepared for paint.
You’ll also decide on the type of ceiling for your basement. Some homeowners prefer a drop ceiling, which allows easy access to pipes and wires above. Others opt for drywall ceilings for a smoother, more polished look. Each option has its pros and cons, and your contractor can help you weigh them based on your budget, design goals, and maintenance preferences.
If you plan to create a home theater or recording space, consider soundproofing the basement during this phase.
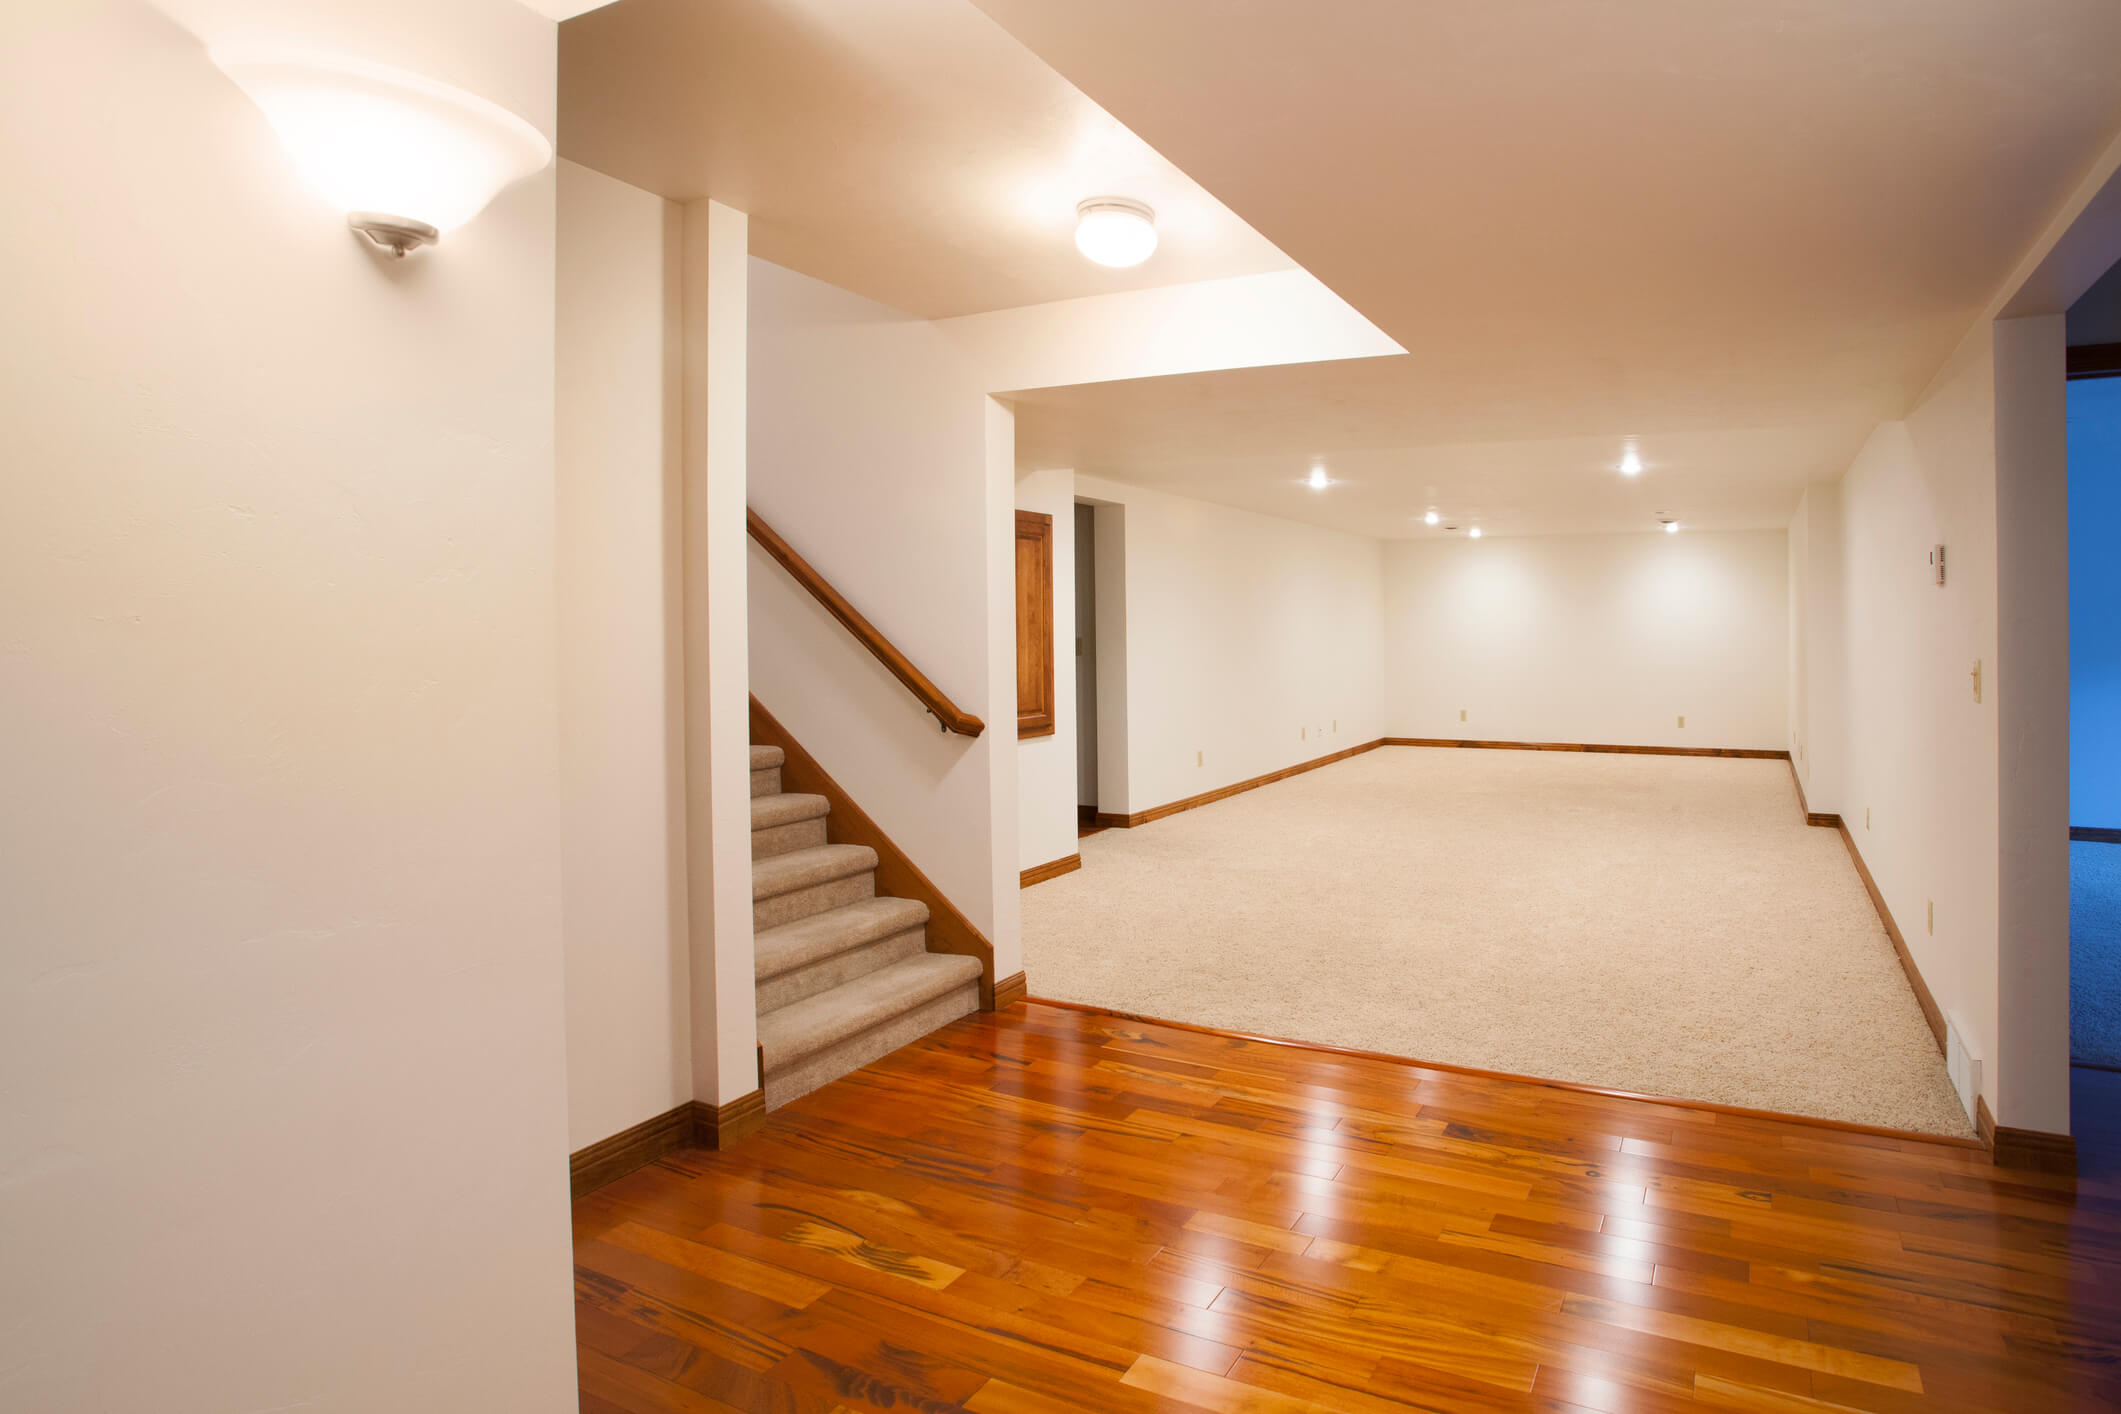
Step 7: Flooring and Trim
Once the walls are painted and the ceilings finished, attention shifts to the floor. Basements require materials that can withstand moisture and temperature changes.
Popular basement flooring options around Indianapolis include luxury vinyl plank, carpet tiles, engineered hardwood, or ceramic tile. These materials provide durability and comfort while giving your basement a clean, finished appearance.
Trim, baseboards, and door casings follow. These details tie the design together and give the space a professional finish.
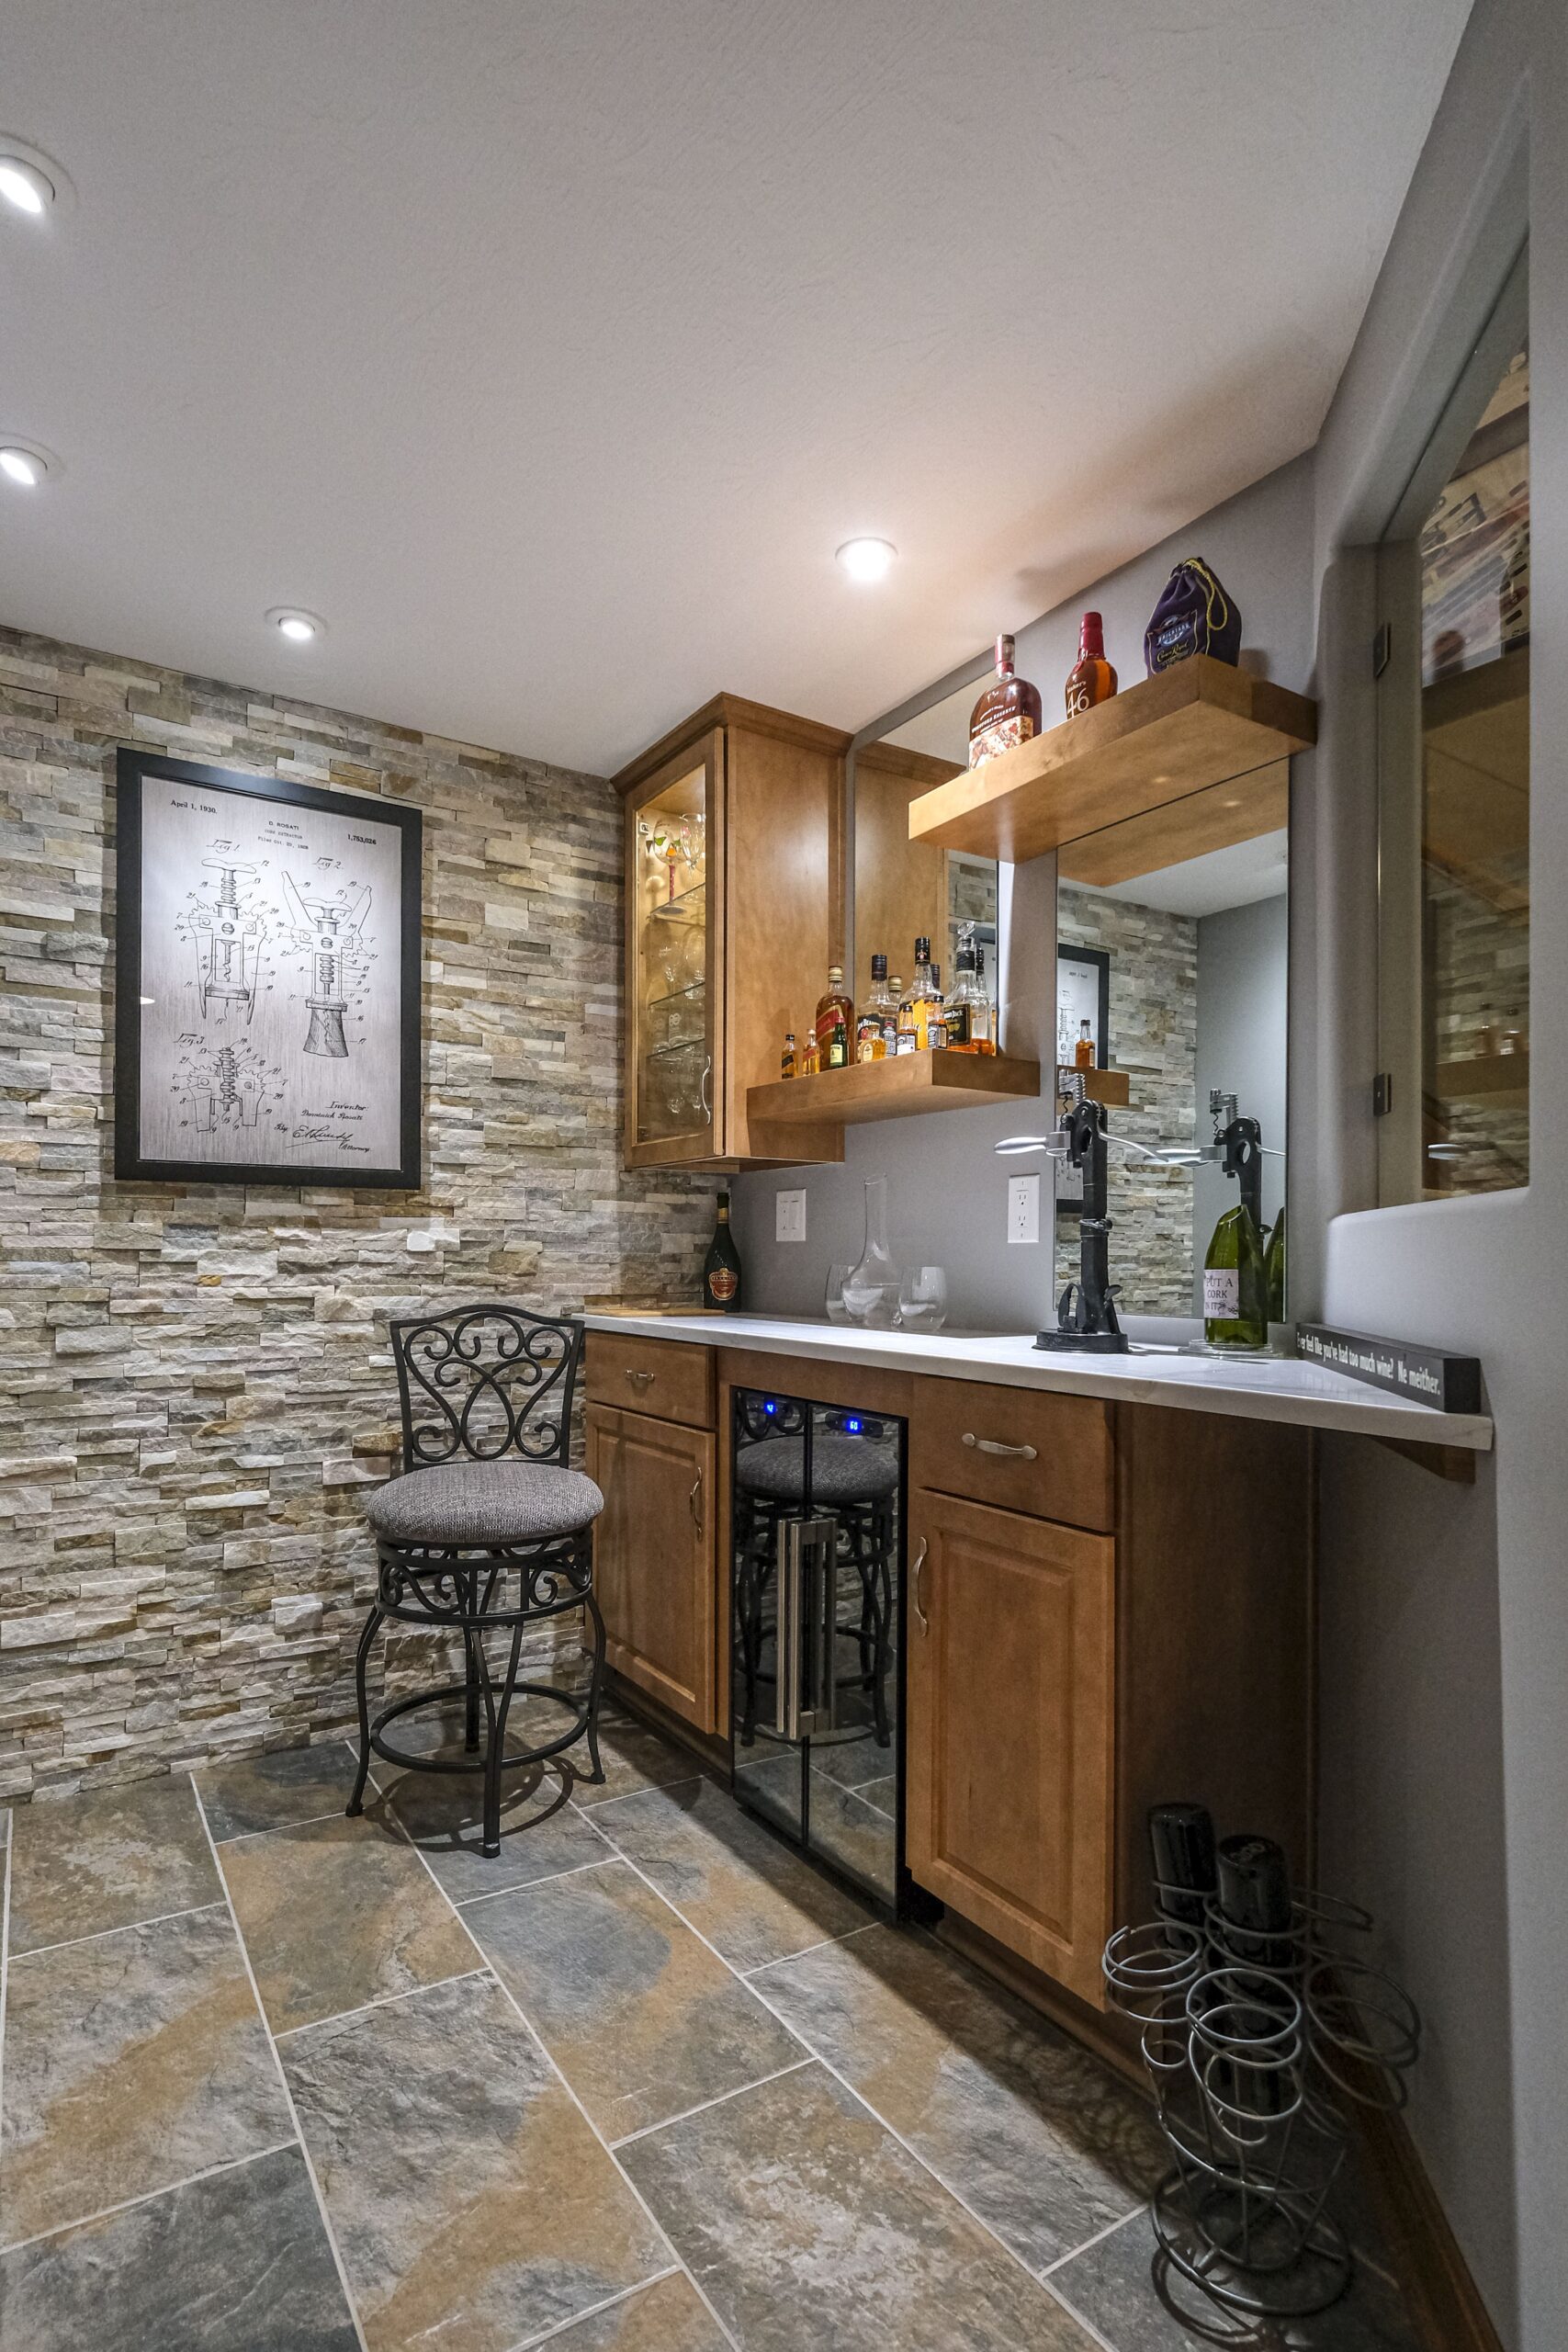
Step 8: Fixtures, Lighting, and HVAC
Now it’s time for the finishing touches that make the space livable. Light fixtures are installed, outlets and switches are fitted, and plumbing fixtures go in for any new bathrooms or wet bars.
Heating and cooling systems may also be adjusted to ensure proper airflow. If your current HVAC setup can’t handle the additional living space, a supplemental unit or venting adjustments might be necessary.
This is when your contractor’s coordination skills really matter, as when electrical, plumbing, and HVAC teams work in sync to complete the job smoothly.
Step 9: Final Inspection and Walk-Through
Before you move furniture in, your contractor will schedule final inspections. This ensures everything meets code and functions as intended.
After approval, you’ll do a walk-through together. It’s your opportunity to check finishes, paint, doors, and fixtures. Any small touch-ups or adjustments are added to a short “punch list.” Once complete, your basement is ready for use.
Step 10: Enjoy Your Finished Basement
You’ve made it. The dust is gone, the paint is dry, and your lower level has become part of your everyday home.
Whether you’ve added a game room, guest suite, or a quiet home office, the payoff is instant. You’ve expanded your square footage and improved your home’s value, all while creating a place your family can enjoy for years.
Basement Finishing
How Long Does It Take?
Homeowners often ask about the timeline for a finished basement. On average, a full basement remodeling project in Indianapolis takes eight to twelve weeks from start to finish. Smaller projects or partial remodels may move faster, while complex layouts with bathrooms, custom cabinetry, or specialized lighting can take a little longer.
Good communication between you and your contractor keeps things on track. Regular updates and milestone check-ins ensure expectations remain clear throughout the process.
What Affects the Cost?
No two basements are the same, so cost can vary widely. Factors include overall size, ceiling height, plumbing needs, insulation type, and finishes. Adding a bathroom or kitchenette adds to the total, as does high-end flooring or specialty lighting.
A trustworthy contractor will review your budget early and provide an estimate that includes materials, labor, and potential extras. Discussing these details before work begins helps avoid surprises later.
Why Work with a Local Indianapolis Contractor
Finishing a basement takes more than tools and materials. It helps to work with someone who knows how homes in this area are built and what local codes require. A basement contractor in Indianapolis with years of experience across nearby communities like Carmel, Greenwood, and Fishers understands how soil, drainage, and insulation needs can differ from one neighborhood to another. That kind of local knowledge makes the entire process smoother and keeps your project on schedule and in compliance with code.
They also have established relationships with local inspectors and suppliers, which helps projects move faster and stay within code. That experience translates to peace of mind for you as a homeowner.
Turn that unfinished space into a comfortable extension of your home. The team at Gettum Remodeling has helped homeowners across Greenwood, Carmel, Fishers, Noblesville, and the Greater Indianapolis area design and build beautiful, functional basements built to last.
Schedule your consultation today and see how easy it can be to finish your basement with trusted local experts.
FAQs Section
How long does it take to finish a basement in Indianapolis?
Most projects take about 8 to 12 weeks, depending on size, design, and permit timelines. Complex layouts or additional plumbing work may extend that slightly.
Do I need a permit for my basement remodel?
Yes. You’ll need permits for electrical, plumbing, and any significant structural changes. A qualified contractor will handle the paperwork and coordinate inspections.
What’s the best type of insulation for basements?
Rigid foam or spray foam insulation offers excellent moisture resistance and energy efficiency. Your contractor will recommend the best approach based on your foundation and wall construction.
Can I add a bathroom to my basement?
Definitely, adding a bathroom to a basement is common, but it requires proper plumbing and venting. Discuss placement and drainage early in planning to avoid layout changes later.
Which ceiling style works best?
Both drop ceilings and drywall ceilings have their place. Drop ceilings allow easy access to pipes and wires, while drywall creates a clean, finished look. Your choice depends on budget, maintenance needs, and design preferences.
How can I prevent moisture problems in my finished basement?
The key is to control basement moisture before finishing. Proper waterproofing, sealed cracks, vapor barriers, and insulation keep the space dry and comfortable year-round.
What’s the typical cost of a basement renovation?
Cost varies based on square footage, finishes, and features, but your contractor will provide a detailed estimate. Factors such as flooring, lighting, and plumbing can affect the total price.


